
Power Adapter Sample Evaluation: The Checklist to Run Before You Approve Production
Published: September 2026
Reading time: 8 min
Audience: brand owners, hardware engineers and procurement teams evaluating first samples from a power adapter factory before approving mass production
By Han — Paiyi Power, an OEM/ODM power adapter manufacturer that supplies model-specific test reports with every sample.
Last updated: 9 September 2026.
Contents
Direct answer: how do you evaluate a power adapter sample?
Run the sample against your own written specification in four passes — paperwork, electrical bench tests, mechanical checks, and a thermal extended run — and only approve production when every line has a pass, a measurement or a signed deviation. A sample that “works” proves almost nothing: any adapter can power a device for five minutes. The evaluation exists to catch the four things that surface later as field returns — loose tolerances, noisy output, weak connectors and missing documents — while they still cost nothing to fix. The whole checklist below runs in half a day on a bench with a load, a scope and a multimeter.
Evaluate against your specification, not against a feeling
The most common evaluation failure happens before the bench: the buyer never wrote a specification, so there is nothing to evaluate against. Write the spec first — output voltage and tolerance, current, connector, cable length, ripple limit, efficiency tier, ambient range, certifications — and send it with the RFQ. Then the sample evaluation is a line-by-line comparison, and every deviation becomes a documented decision instead of a vibe. Our power supply test guide covers the measurement methods referenced below.
Step 1: paperwork before electrons
- Model-specific test report: the report names the exact model, carries a number, and lists the standards it was tested to — not a family “certificate”.
- Certificate copies with verifiable numbers: CE, CB, FCC at minimum for your markets; check report numbers against the issuing lab.
- Label proof: the artwork shows the rated output, plug type, warnings and the marks you asked for — as printed, not as discussed.
- Specification conformance sheet: the factory’s own statement of what the sample was built to, so deviations are visible.
Paperwork failures at sample stage are the cheapest failures you will ever catch. A factory that cannot produce a model-specific report for the sample will not produce one for production either — see certification by country for which documents exist per market.
Step 2: electrical bench tests
| Test | Equipment | What “pass” looks like |
|---|---|---|
| Output voltage & tolerance | Multimeter, load | Within spec at 115 V and 230 V input, no-load and full load |
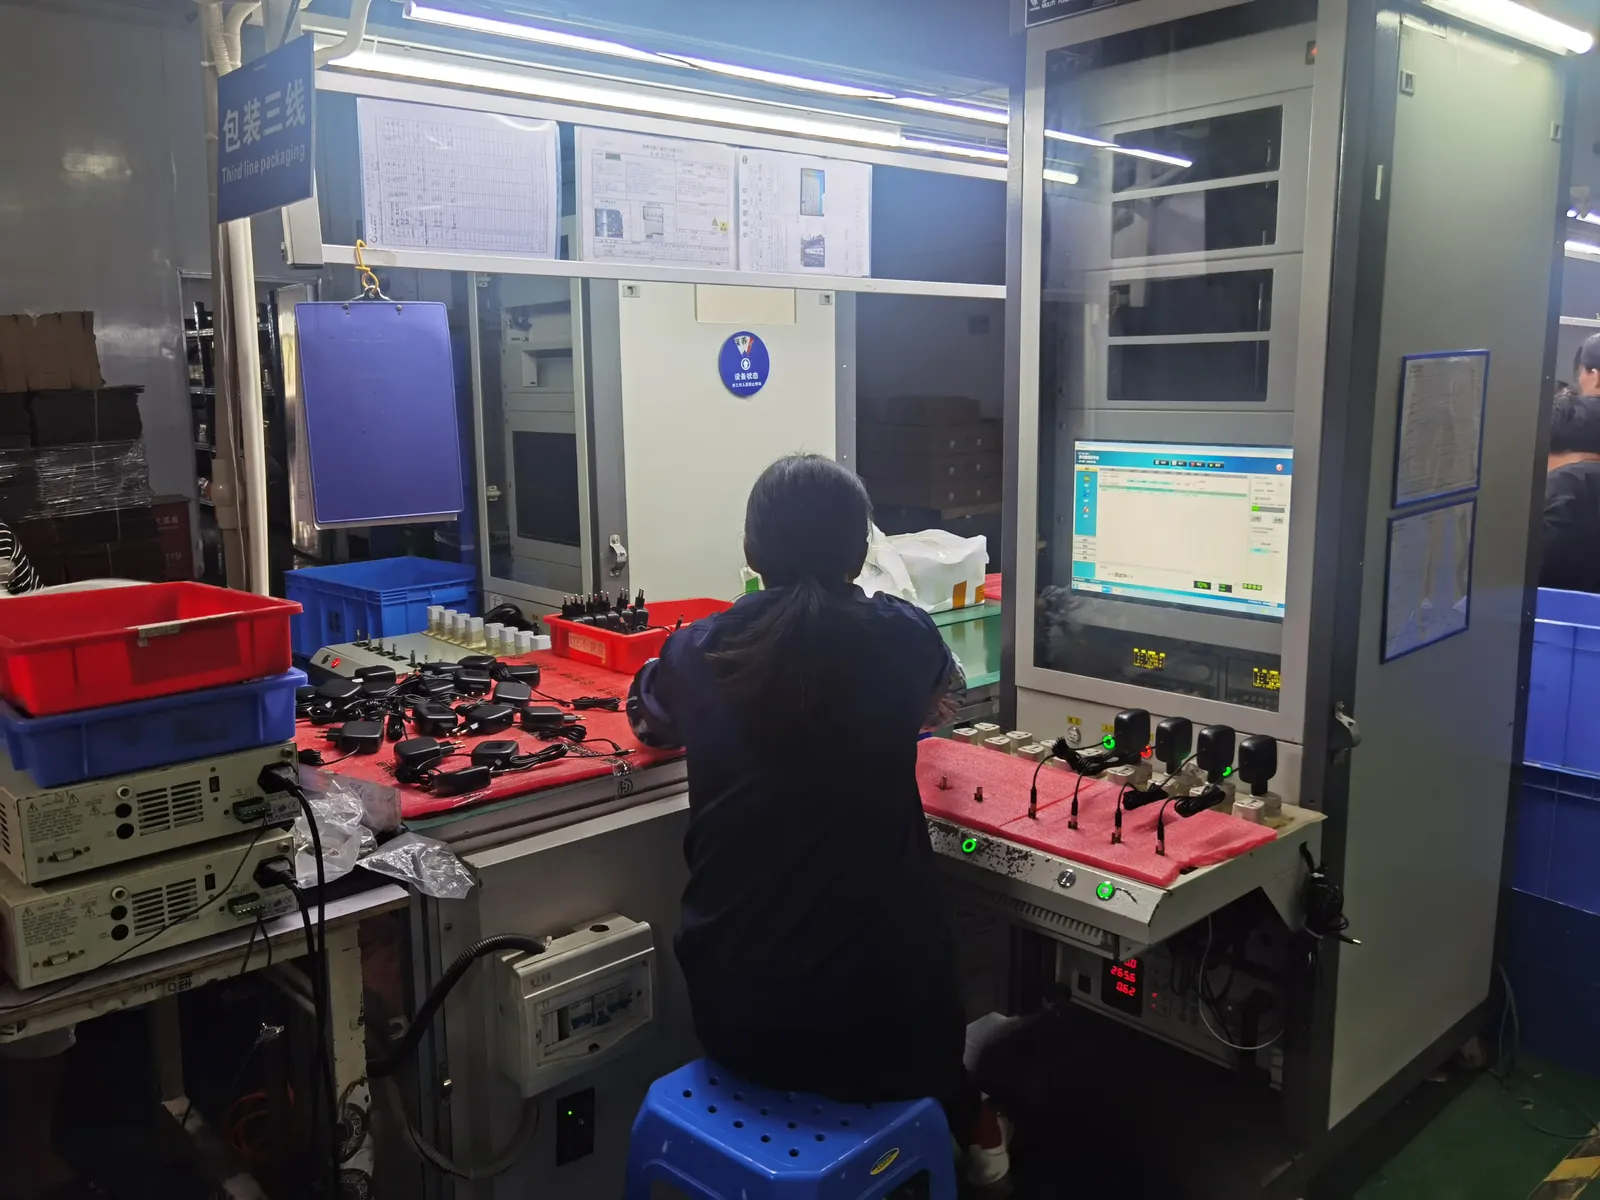
| Ripple & noise | Oscilloscope, bandwidth-limited probe | Within your mV limit at full load, at the end of the cable |
| Current-limit behaviour | Electronic load | Defined type (fold-back / hiccup / latch), recovers as specified |
| Efficiency & no-load power | Power analyser | Meets your tier (DOE VI / CoC Tier 2) at 115 V and 230 V |
| Inrush & transient recovery | Scope + load steps | No trip on your device’s start-up; rail recovers within spec after load steps |
| Protections (OVP/OCP/SCP) | Load, short tool | Triggers and recovers safely per datasheet behaviour |
Measure ripple at your real load and at the end of your cable, not at no load with a short lead — the number that matters is the one your device sees, as explained in how to test a power supply.
Step 3: mechanical and label checks
- Fit check in your device or fixture: connector depth, clearance, bend radius at the strain relief.
- Cable: gauge and length per spec; jacket marking legible; pull test at the defined force.
- Label: durable (tape test), correct ratings, correct plug type for the destination market.
- Weight and dimensions: matches the approved drawing — silhouette changes here become packaging problems later.
Step 4: thermal and the extended run
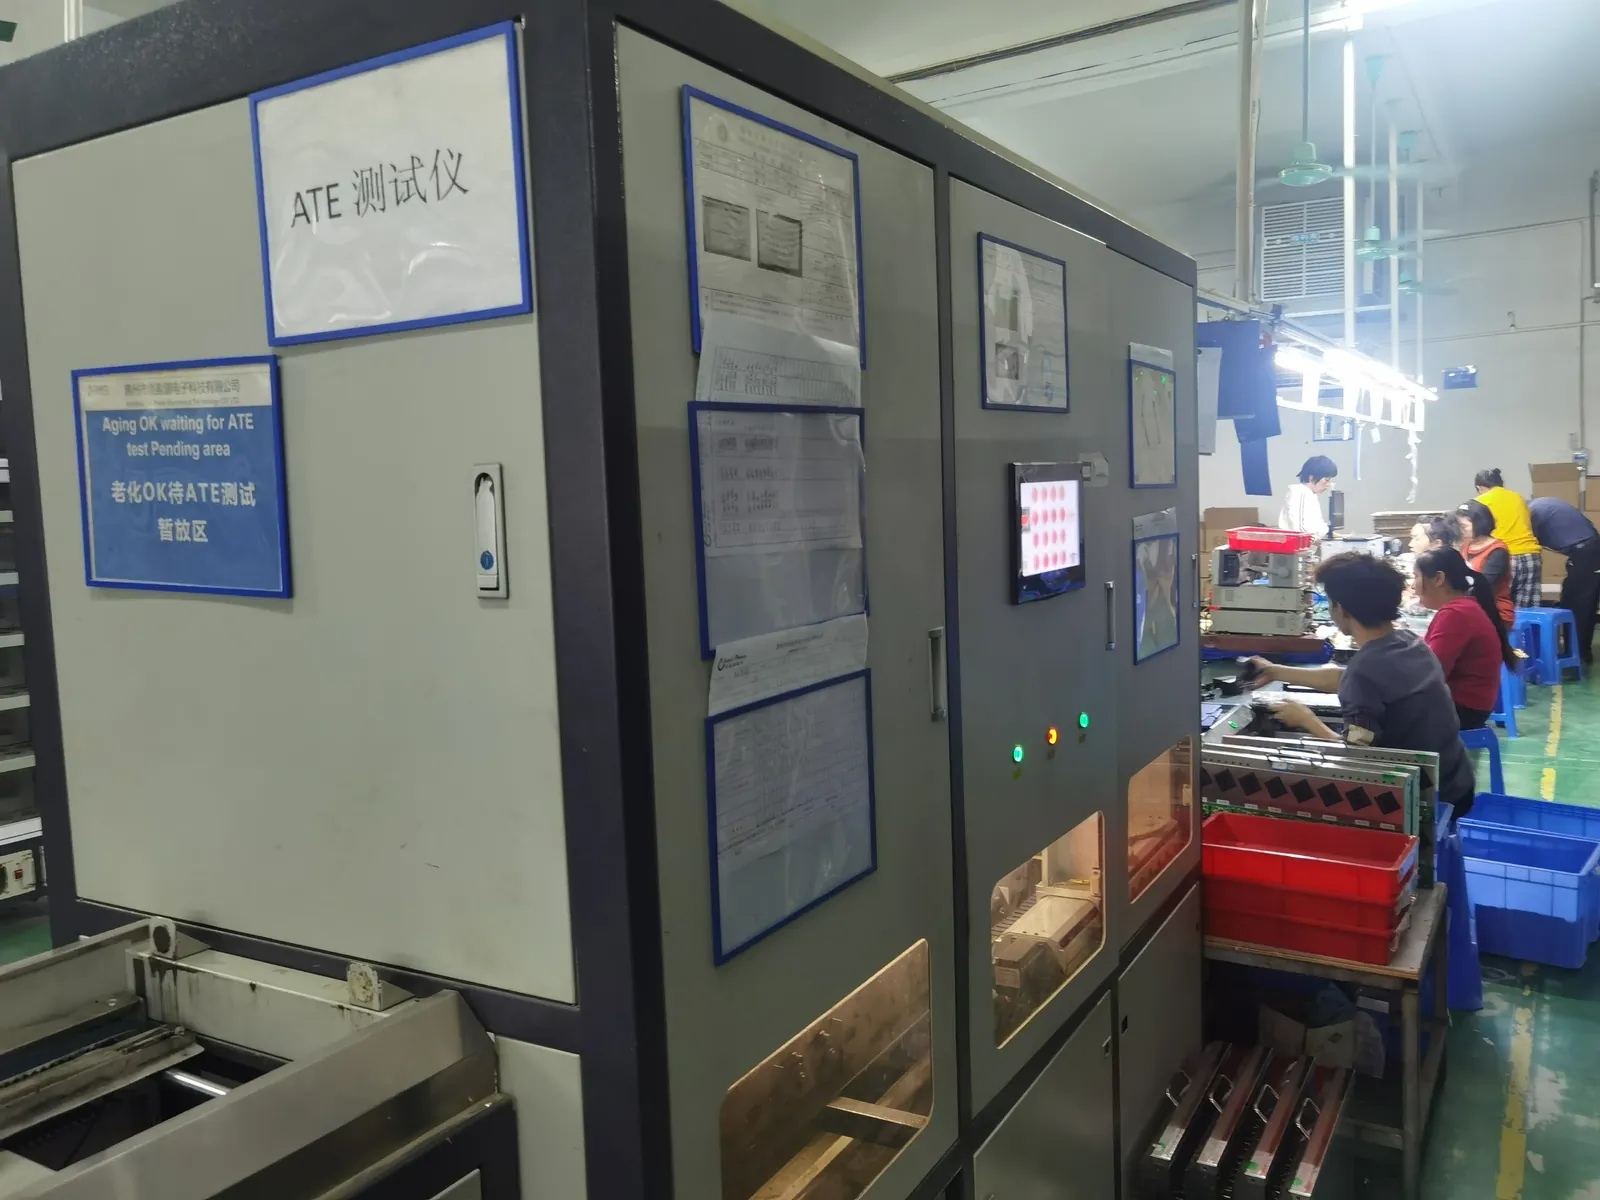
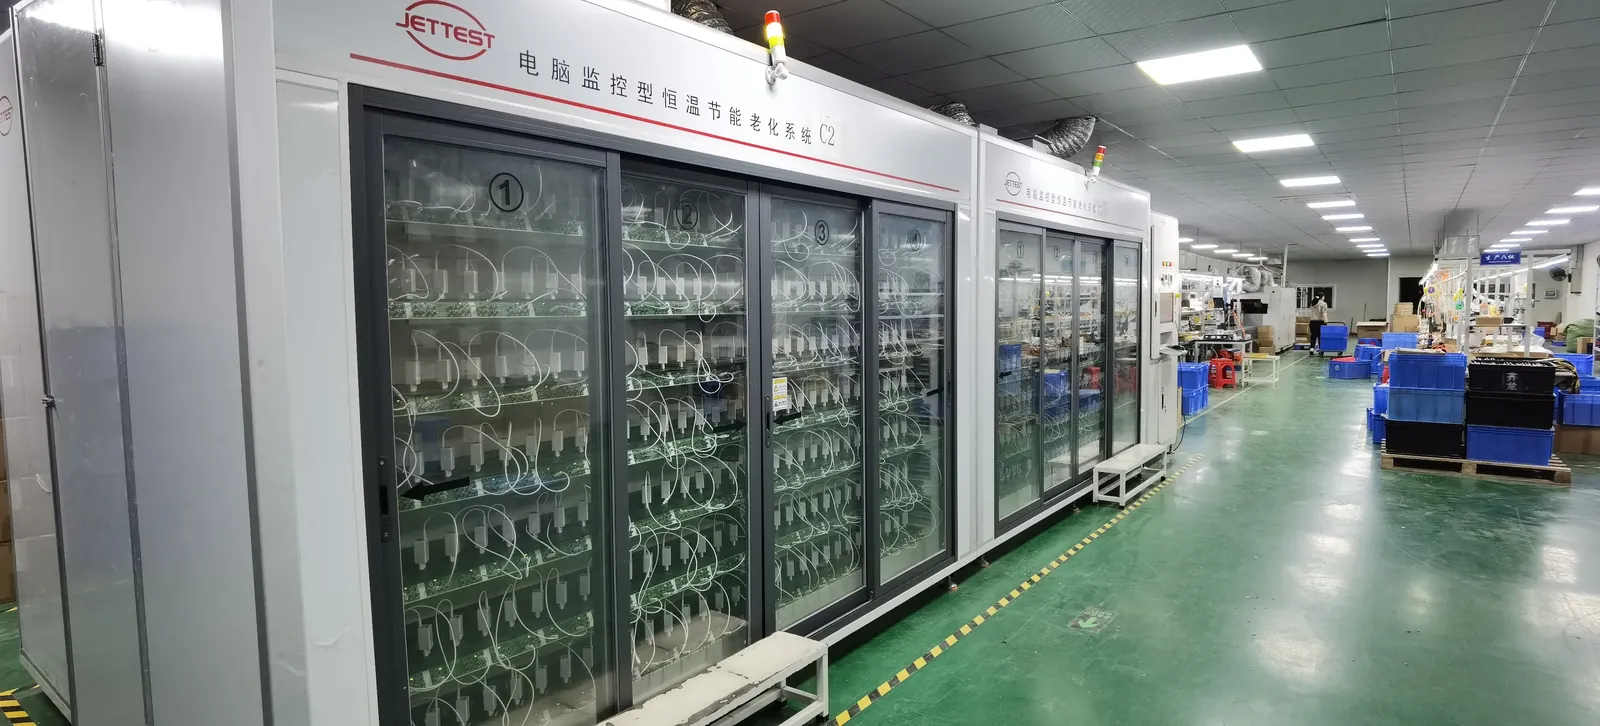
Run the sample at full load for a minimum of two to four hours in the worst realistic placement (flat on a desk, enclosed if that is how your product lives) and log case temperature with a thermocouple. Compare against the derating curve the factory quoted — a case that is too hot to hold at 25 °C ambient is a design that will fold back in a summer cabinet. For programs with service obligations, extend the run: a 72-hour load run on the sample catches early-life failures the same way our burn-in and aging racks do before shipment.
The golden sample: seal it, sign it, keep it
When the sample passes, that physical unit becomes the golden sample — the production reference both sides agreed to. Bag it, label it with date and signatures, and keep it somewhere safe; require the factory to keep its own signed copy too. Every future shipment dispute, every change-control question, every second-source quote gets answered by comparing against the golden sample. Then, before production, put the relationship terms in writing — see our OEM agreement guide for the five clauses that matter.
Common mistakes in power adapter sample evaluation
- Approving on a phone call: “the sample looks good” is not an approval; the checklist is.
- Testing only at nominal input: low-line 90 V and high-line 264 V behave differently.
- Skipping the paperwork: approving a sample whose report names a different model.
- No golden sample: production drifts, and there is no reference to compare against.
- Approving without your cable in the loop: ripple and drop change with the cable — test with the real one.
Frequently asked questions
How many samples should I ask for?
Two to three. One to test to destruction if needed, one to keep as the golden sample, one as a spare. We supply samples with the model-specific report attached.
Do I need an electronic load to evaluate a sample?
A load is strongly recommended — resistive loads (power resistors, bulbs) work for basic checks, but an electronic load gives clean steps for transient and current-limit tests.
How long does sample evaluation take?
Half a day for the full checklist plus 2–4 hours of loaded run. Most of it is bench time with standard equipment.
What if the sample fails one line?
Document it and send it back with the measurement. A factory worth working with responds with root cause and a revised sample; a factory that argues without data has answered a different question about itself.
Is the sample tested for EMC?
Sample-stage EMC is a pre-compliance scan if you need it — formal EMC runs on production-intent units at a lab. See certification by country for the market layer.
Should the factory do the evaluation instead?
The factory tests 100% of units anyway — but that is not your evaluation. Your checklist verifies the unit against your device, cable and market; the two overlap but are not the same.
Does sample evaluation apply to catalogue adapters too?
Yes, scaled down. Even a private-label unit gets paperwork verification, output check, ripple at load and a fit check — a catalogue label changes nothing about your return rate.
What MOQ applies after sample approval?
From 200 pcs per model at Paiyi Power, 5–6 weeks to first production. Modified-standard designs usually need no tooling — see our low-MOQ guide.
Sources
- IEC — 62368-1 safety standard family
- ISTA — transit test procedures (packaging)
- U.S. DOE — External Power Supply efficiency (Level VI)
Related on this blog: how to test a power supply, power adapter OEM agreement guide, low MOQ power adapter OEM/ODM.